
In the market for a growth chart ruler? You’re in the right place!
This post has everything you need to know about how to DIY a wooden growth chart ruler – and it’s very budget-friendly!
One childhood memory that has alway stuck with me was being at friend’s houses and they had each kids’ height etched on a door frame by their kitchen.
For whatever reason I was so drawn to it. I told myself that when I have kids of my own that I would track their height as they grew up too.
I now have a 2 year old daughter and a second daughter on the way.
Pretty soon after my daughter was born I began searching for a wooden growth chart ruler.
Since we don’t live in our forever home, I needed something I can take with me – or else, to be completely honest, I would definitely remove the door frame and take it with me.
I knew I wanted to have a record of my daughters’ growing up over the years, but after a quick search, I was surprised to see how expensive they are.
Don’t get me wrong; they’re all gorgeous!
But I began to wonder how difficult/how much it would cost to just DIY my own wooden growth chart ruler.
Well, as it turns out, it’s not very expensive at all! And, I swear it’s one of the easier DIY projects I’ve done!
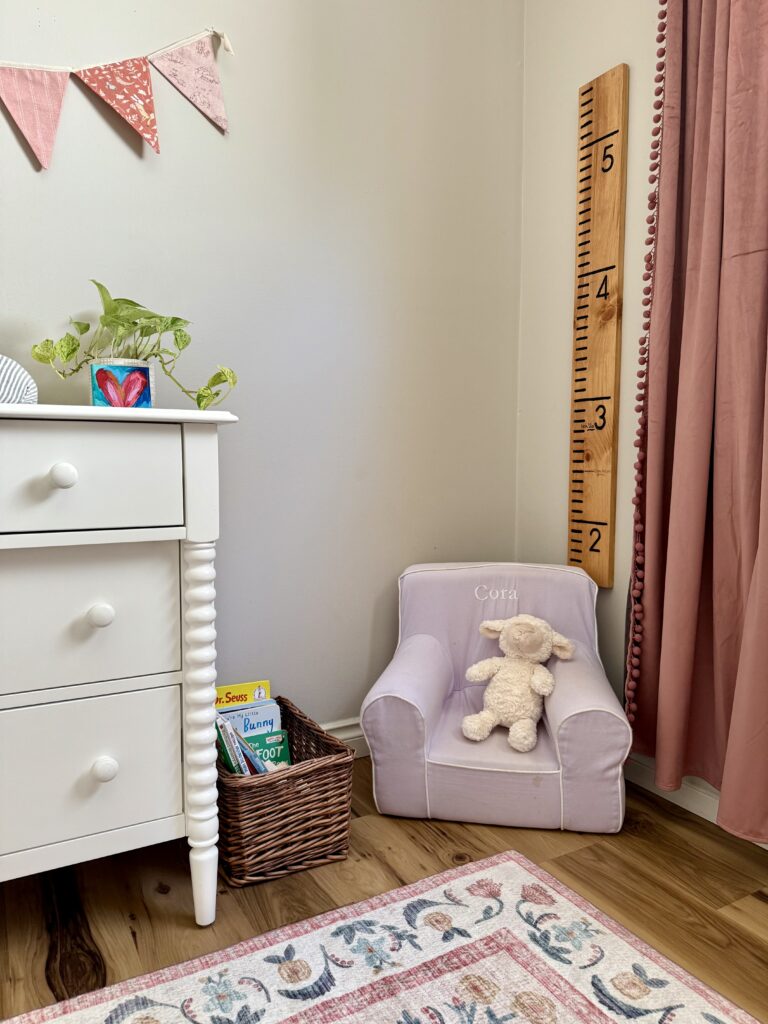
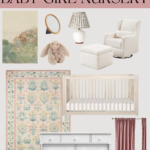
Want to see a tour of my daughter’s nursery? Click here!
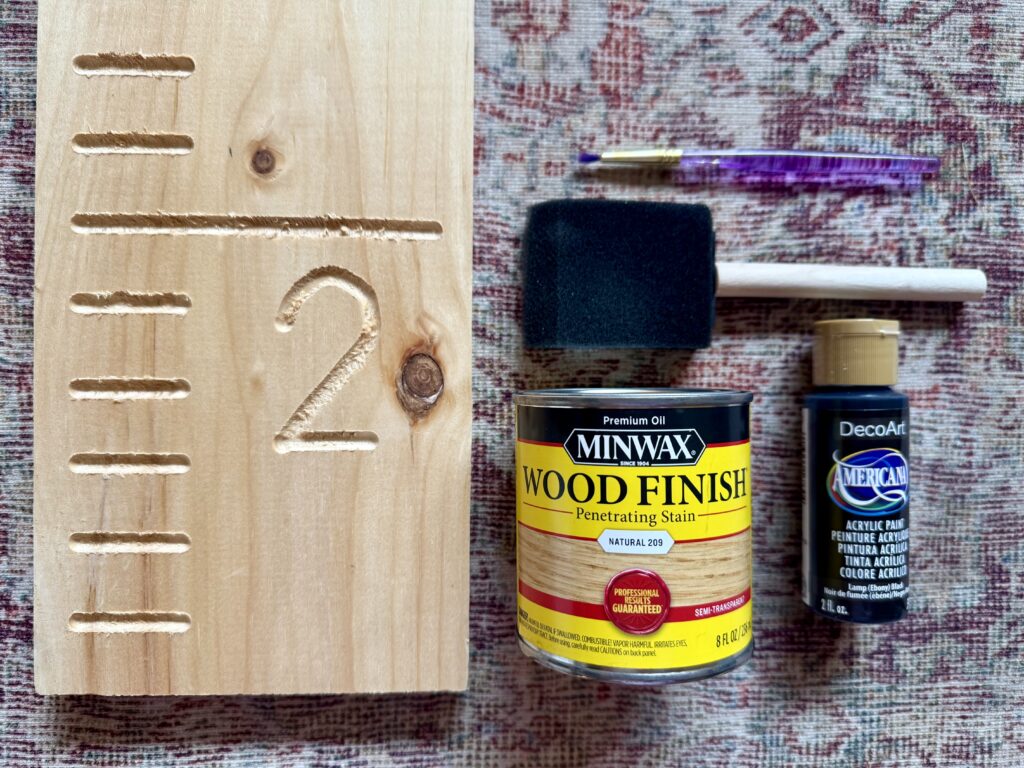
Supplies you need to DIY a wooden growth chart ruler
- Wooden growth chart ruler – You have a couple of options here…
- The most budget-friendly growth chart ruler I’ve found is from Hobby Lobby – it’s only $13.99. Unfortunately, they don’t have a link to buy it online so you do have to go into the store.
- I have searched high and low for a budget-friendly wooden growth chart option, but haven’t had much luck. Here is another option.
- Foam paint brush
- Paint brush
- Acrylic paint in color of your choice
- When everything was said and done, I spent a whopping $25!
Steps to DIY a wooden growth chart ruler
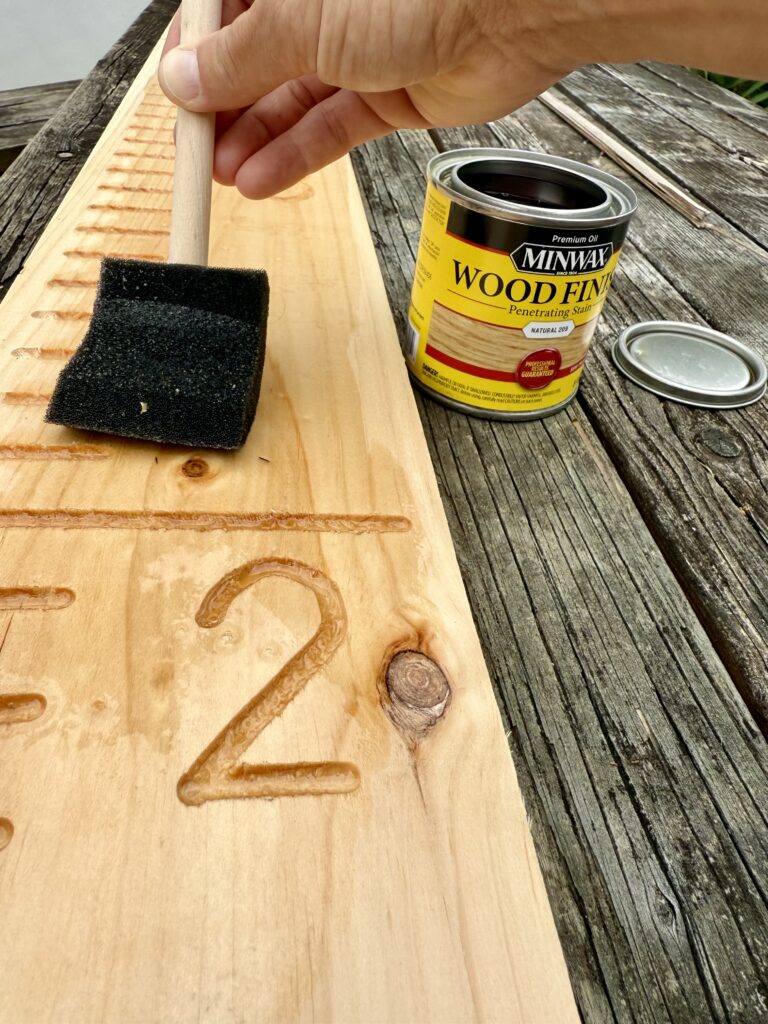
Step 1: Stain the wood. This should definitely happen outside! And the more coats you do, the darker and richer the stain will look. When I made mine, I stained it throughout the day, and left it outside overnight to air out.
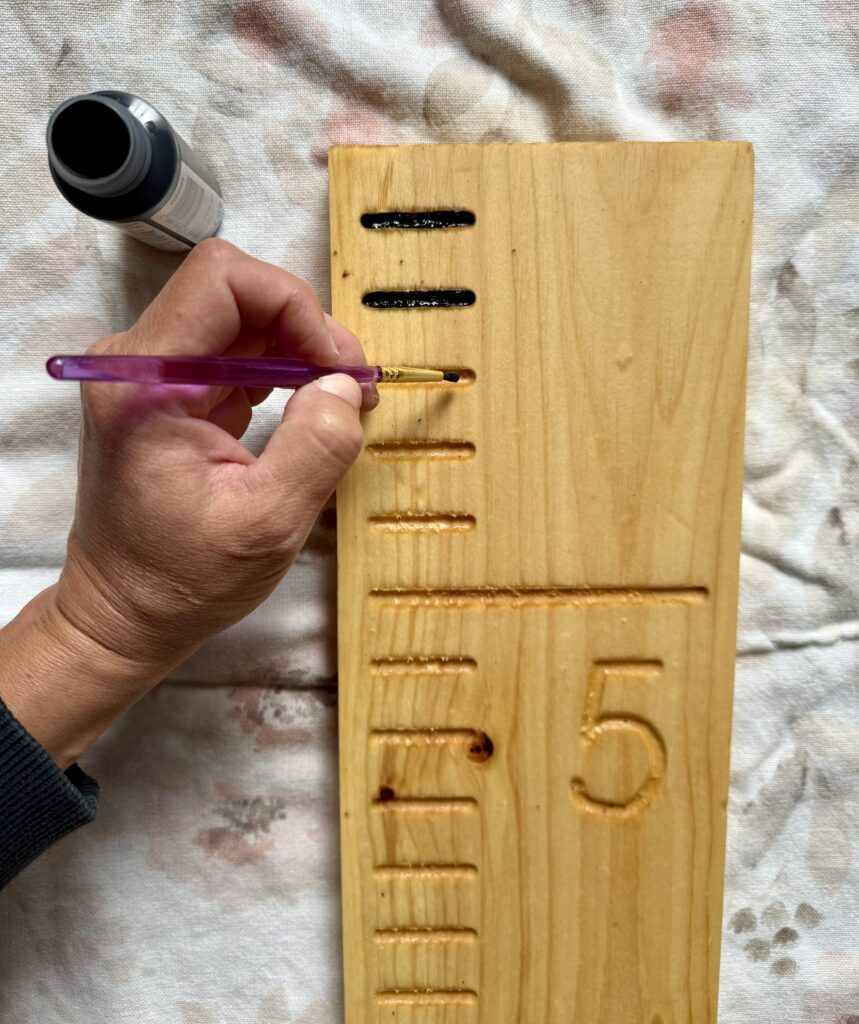
Step 2: Paint numbers and lines with acrylic paint (I like to do two coats with this step so it looks sharp!).
Step 3: Totally optional: You can get a decal or paint names, phrases, etc.
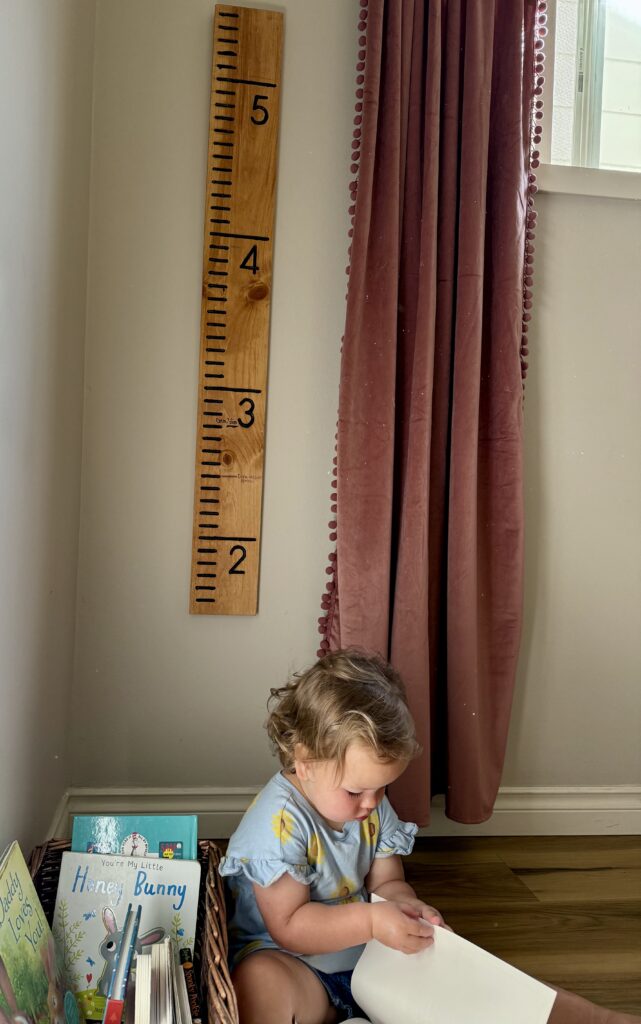
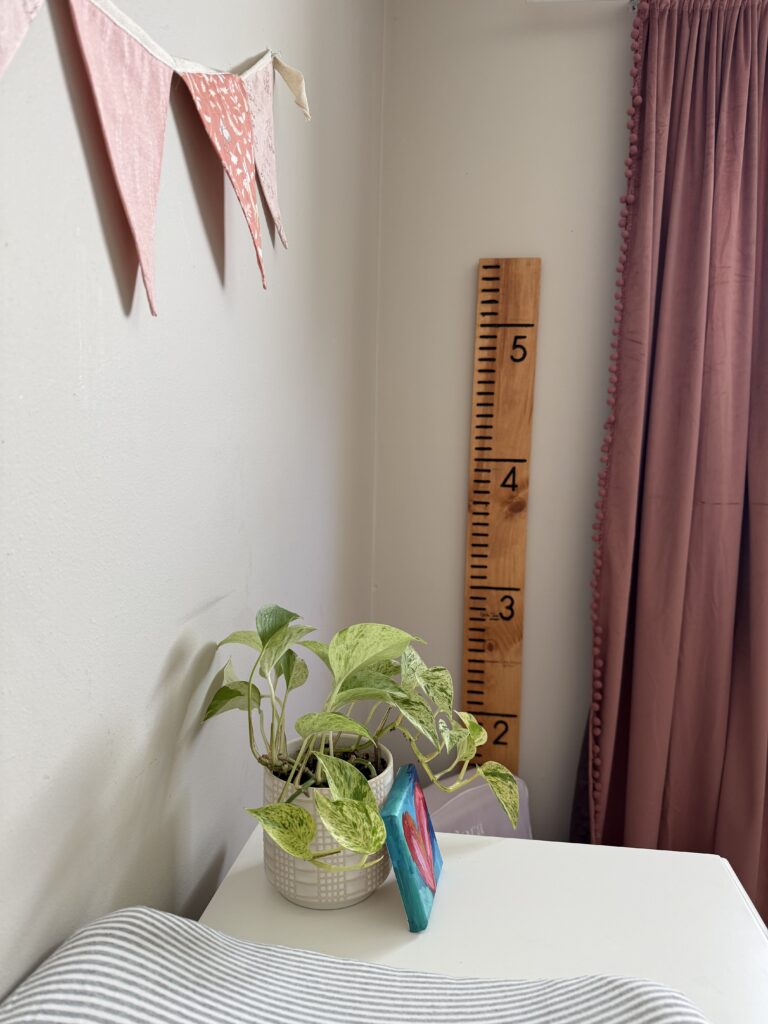
Step 4: Hang up and enjoy for years to come!
Let me know how this DIY project turned out for you in the comments!

Read next:
A Sweet and Cozy Nursery Room Tour
Every Day Motherhood Series #1 and #2 (hacks, favorite products, and the best advice!)
As an Amazon Associate, I earn from qualifying purchases. This post may include affiliate links that earn us a small commission from your purchases at no extra cost to you. You can read about it on my disclosure policy. Thank you!


Leave a Reply